English


Perfect Eyeshadow Tutorial for Hooded Eyes: Professional Guide
Hooded eyes require specialized eyeshadow strategies that vary genuinely from traditional make-up tutorials.
With the proper approach, you may create lovely seams that enhance your herbal eye form and make your eyes seem larger, brighter, and extra described.
This professional guide well-known shows professional strategies specially designed for eyeshadow for hooded lids and eye make-up for hooded eyes.
Whether you’re struggling with eyeshadow that disappears, creases fast, or transfers on your upper lid, those examined techniques will remodel your make-up ordinary and assist you acquire the right eye looks you have usually desired.
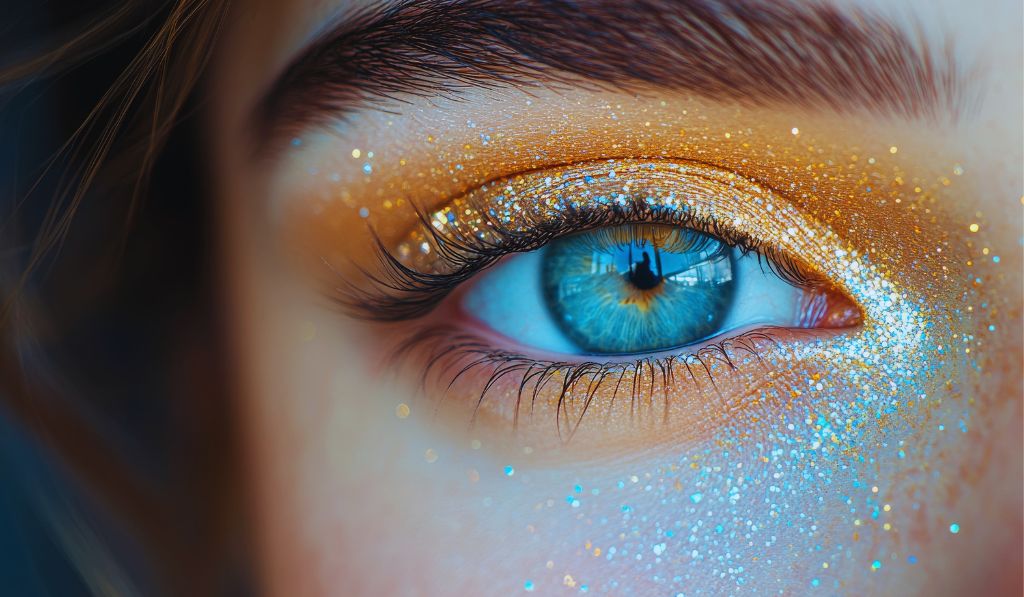
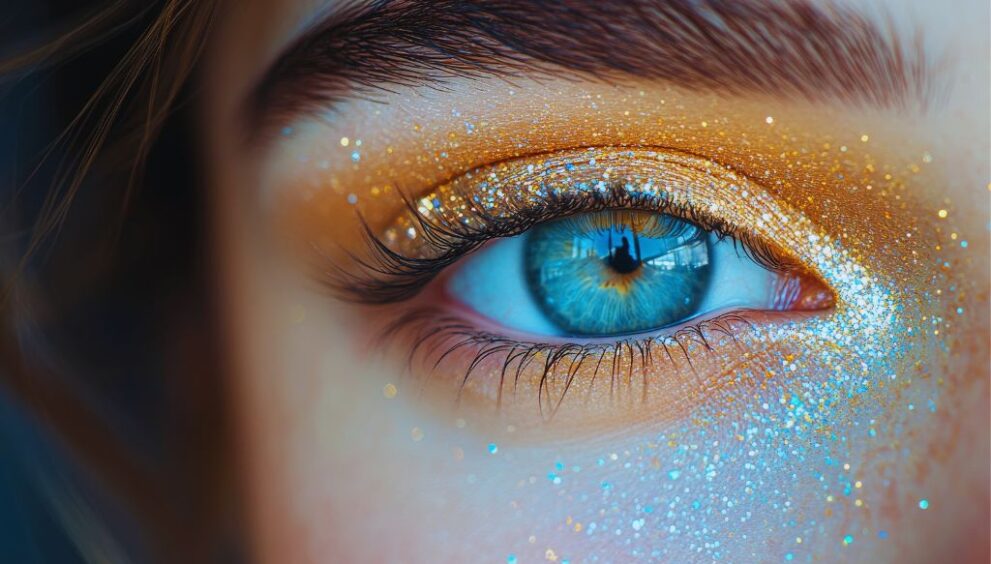
Understanding Hooded Eyes
Hooded eyes are characterized by using a fold of pores and skin that droops over the crease, partly or really overlaying the mobile eyelid.
This eye form can be genetic or increase with age, and impacts how eyeshadow appears and plays inside the route of the day.
The principal annoying situations with hooded eyes encompass:
- Limited visible lid area while eyes are open
- Eyeshadow moving to the top lid fold
- Colors acting one in all a kind than meant
- Makeup creasing or fading speedy
Celebrity Examples: Many A-list celebrities like Blake Lively, Jennifer Lawrence, Emma Stone, and Taylor Swift have hooded eyes and usually exhibit lovely eye makeup on crimson carpets, proving that this eye form may be actually lovely with the proper techniques.
Understanding your eye form is step one to studying eyeshadow software. Instead of combating in opposition to your herbal eye shape, these strategies work in conjunction with your hooded eyes to create more impact and sturdiness.
Essential Products and Tools
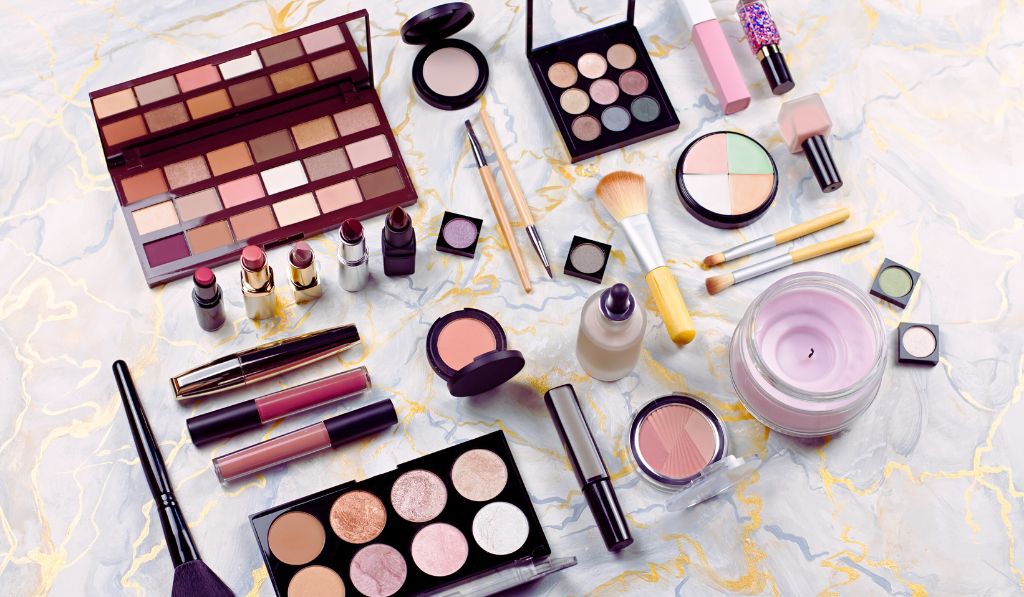
Must-Have Brushes
- Small Flat Shader Brush: Perfect for packing shade onto the confined cellular lid area with precision and control.
- Compact Blending Brush: Smaller than traditional blending brushes, bearing in mind managed blending in tight spaces.
- Pencil Brush: Essential for exact paintings inside the outer nook and unique decrease in lash line utility.
- Fluffy Highlighting Brush: Ideal for internal nook highlights and brow bone illumination without worrying base colorings.
Key Products for Success
High-Quality Eyeshadow Primer: The maximum crucial product for hooded eyes. Choose primers with robust grip generation to prevent creasing and coloration transfer.
- Matte Eyeshadows: These work higher than shimmers for hooded eyes, specifically in transition and crease areas.
- Long-Wearing Formulas: Invest in eyeshadows with splendid staying power and color payoff.
- Setting Spray: Use make-up placing spray on a small brush to lock colorations in regions without a traumatic software program.
Read also: Revolutionary Nail Art Trends 2025: 15 Game-Changing Styles That Will Transform Your Manicure Game
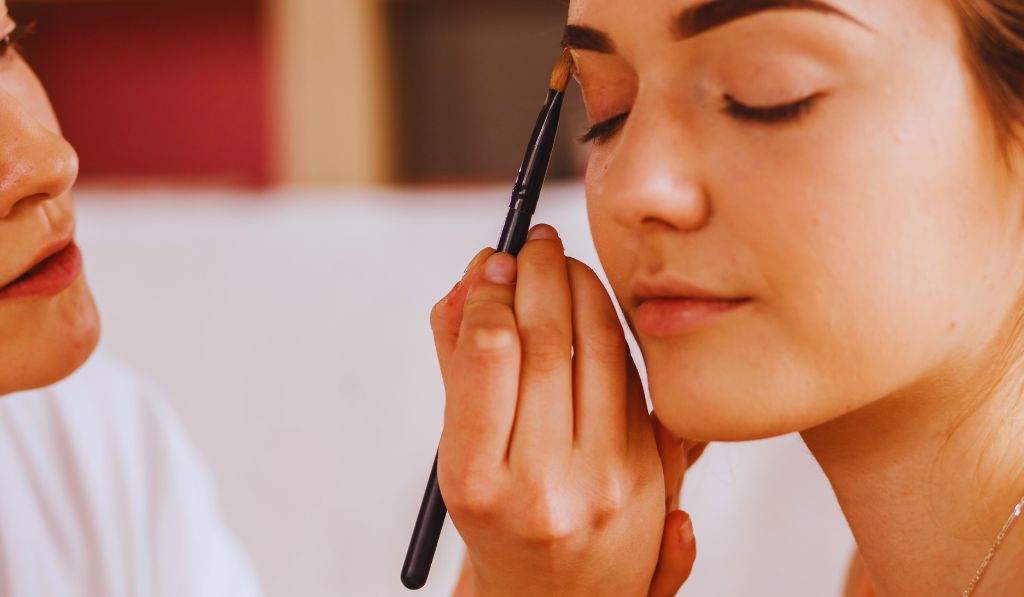
Step-by means of way of-Step Eyeshadow Application
Step 1: Prepare Your Base
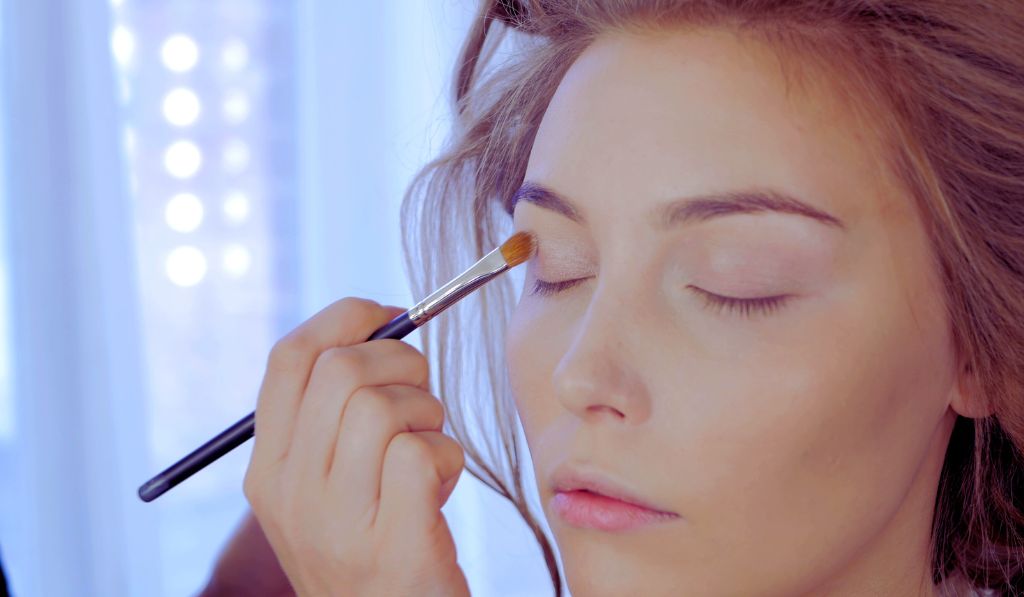
Start with clean, dry eyelids. Apply eyeshadow primer from the lash line to the brow bone, ensuring complete coverage.
This creates a smooth canvas and stops eyeshadow from settling into tremendous traces or shifting to the hood.
Set the primer with a mild dusting of translucent powder or a pores and skin-tone eyeshadow.
This step is vital for hooded eyes as it offers more grip in your eyeshadow and prevents creasing at some level in the day.
Pro Tip: Always take a look at primer alongside your eyes open to ensure you cowl all regions wherein eyeshadow will be positioned.
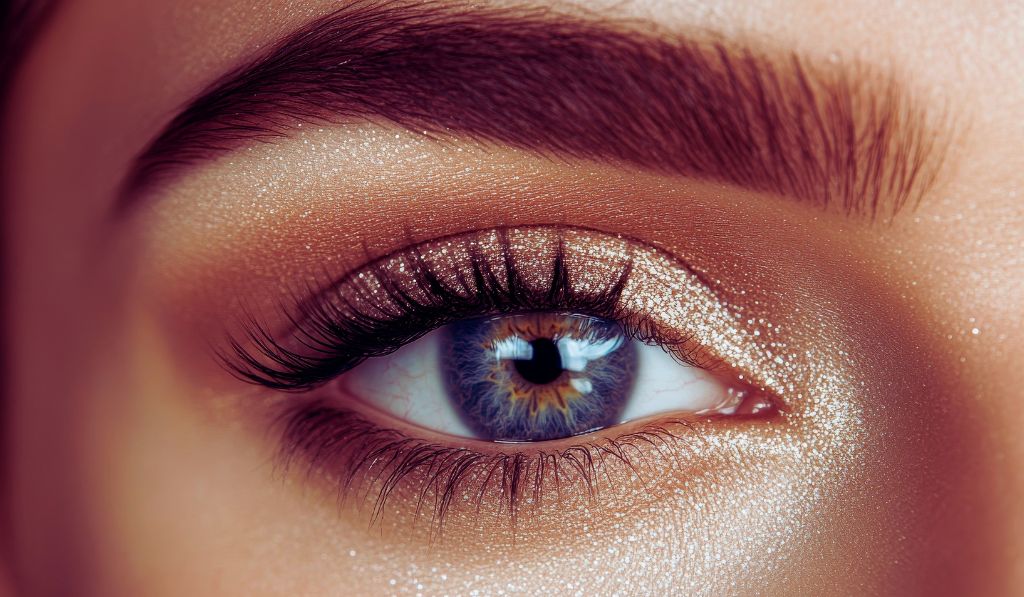
Step 2: Apply Transition Color
Choose a matte eyeshadow. It truly is 1-2 sun shades deeper than your skin tone. With your eyes open and searching immediately ahead, exercise this colour above your natural crease wherein it’s going to stay visible.
Use a fluffy brush to combine the transition shade in windshield wiper motions, focusing at the location that remains visible at the same time as your eyes are open.
This creates an easy base for deeper colours and allows the whole thing to be mixed seamlessly.
Key Point: The transition coloration must be positioned higher than traditional tutorials advocate – approximately 2-3mm above your natural crease.
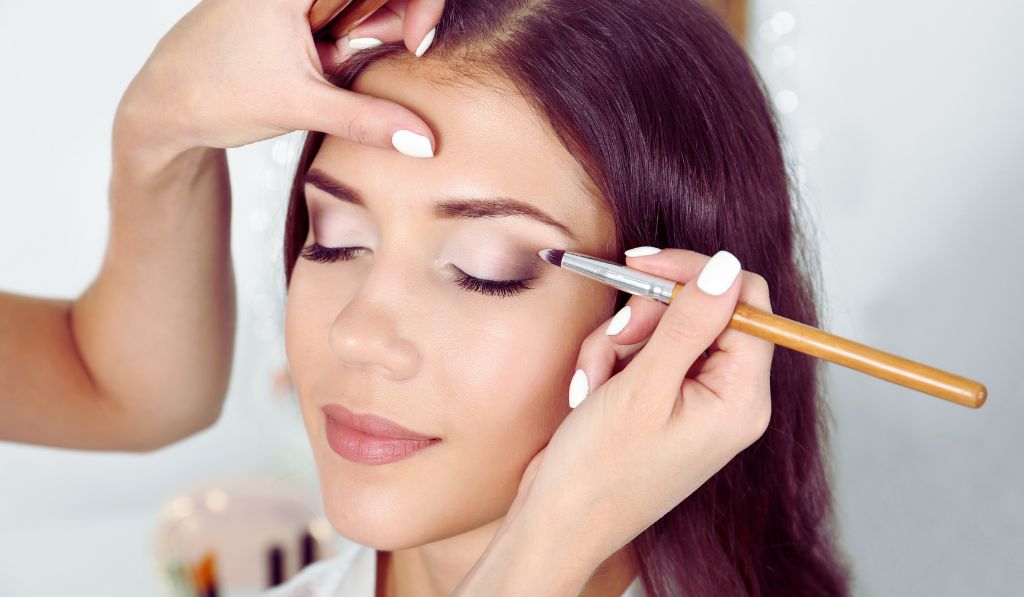
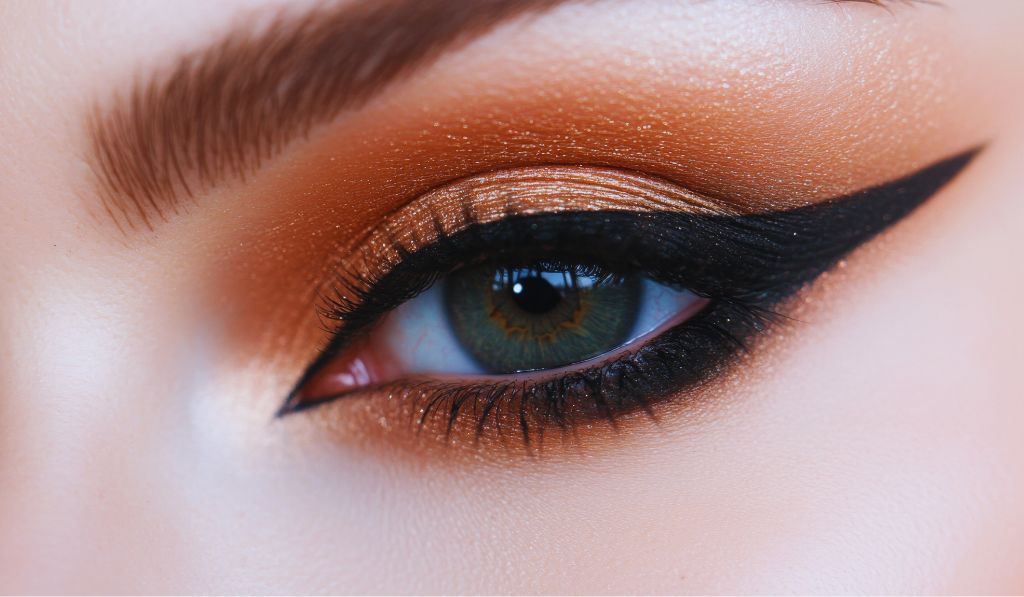
Step 3: Define the Outer Corner
Apply a deeper shade to the outer corner of your eye, developing a tender “V” form. Extend this color slightly beyond your herbal eye form to create the illusion of width and raise.
Blend the deeper coloration using small, managed motions with a smaller mixing brush. Always combo upward and outward – never downward, as this can make hooded eyes appear droopy.
Color Selection: Choose matte sun shades for the outer corner as they create higher definition without emphasizing the hood.
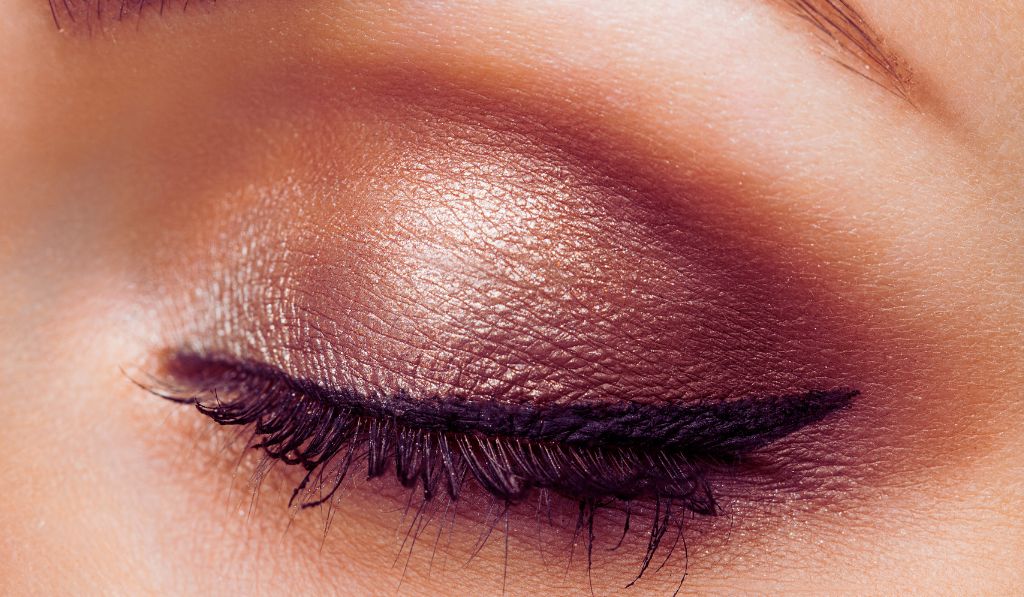
Step 4: Enhance the Mobile Lid
Pat your chosen lid coloration across the mobile lid area using a flat shader brush.
For eyeshadow for hooded lids, lighter colorations paintings extraordinary as they make the restricted lid region seem larger and brighter.
If the use of shimmer, practice it handiest to the middle of the cell lid for optimum effect. Avoid setting shimmer close to the crease or on the hooded area as it may draw interest to the fold.
Application Technique: Use patting motions in choice to sweeping to get most coloration payoff at the small lid vicinity.
Step 5: Illuminate Strategic Areas
Apply a mild, barely shimmery shade in your inner nook and actually underneath the exceptional component of your brow bone.
This creates an on the spot eye-beginning impact and adds dimension in your appearance.
Keep the forehead bone highlight subtle and nicely-blended. Use a small brush for a particular application and mix the edges to keep away from harsh strains.
Placement Tip: Focus the inner nook spotlight on the real corner of the attention rather than spreading it too far along the lid.
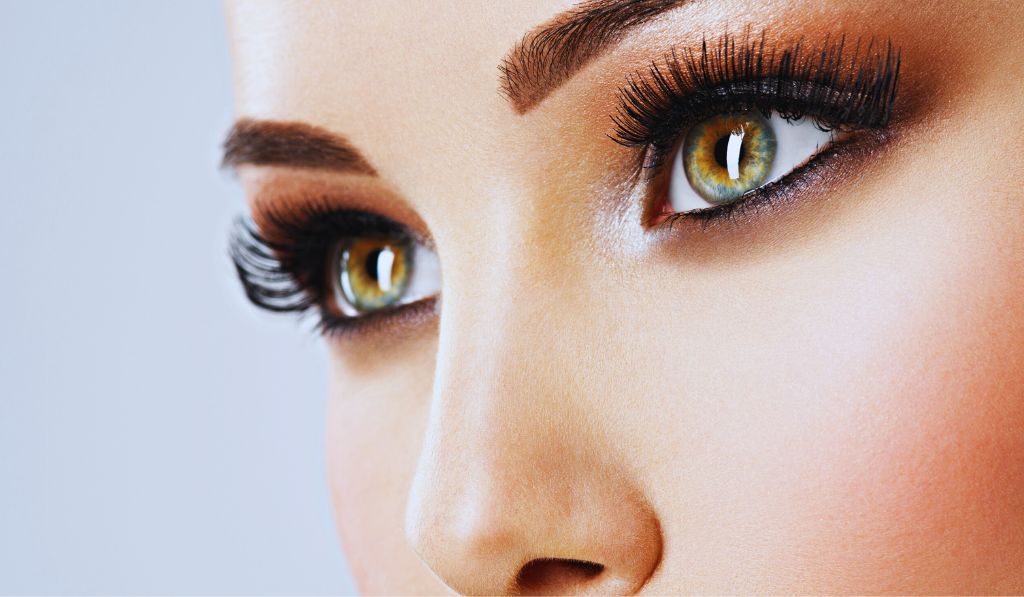
Step 6: Define Your Lash Line

Use a small, particular brush to use eyeliner close to the pinnacle lash line. For hooded eyes, skinny liner works fine as thick strains can crush the constrained lid space.
If you need to create a wing, draw it together with your eyes open to ensure right placement and visibility. Keep the wing perspective particularly flat to supplement the hooded eye form.
Eyeliner Strategy: Consider the usage of eyeshadow as liner for a softer appearance this is a great deal much less possible to switch to the hood.
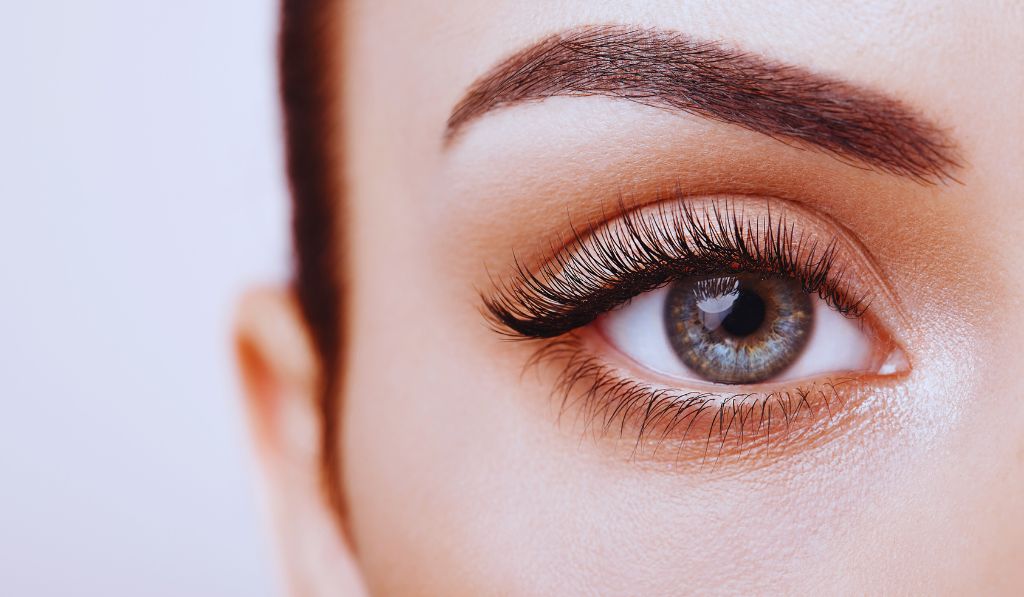
Step 7: Perfect Your Lashes
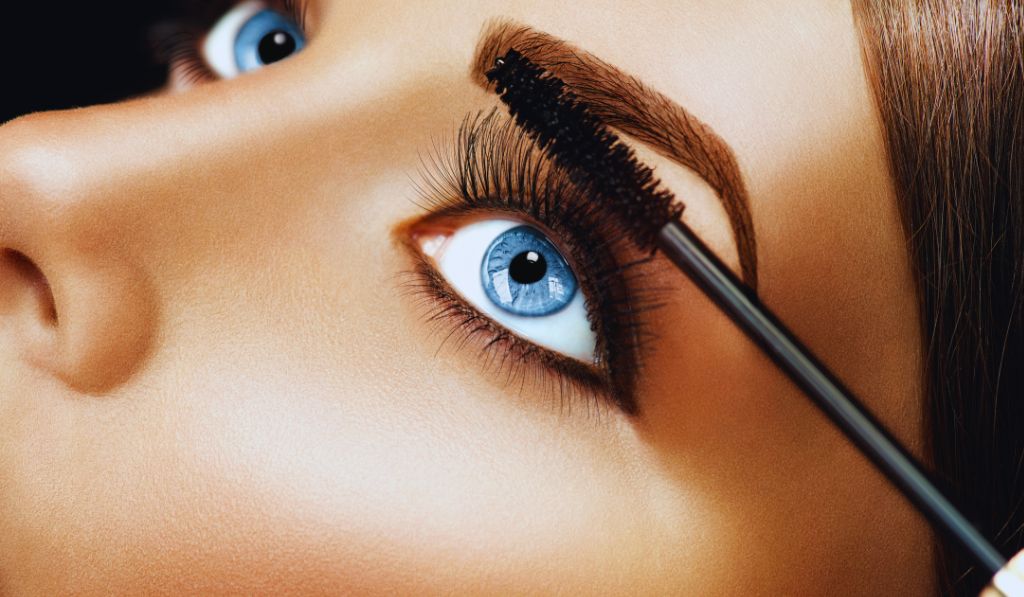
Curl your lashes earlier than making use of mascara to open up the eyes. Apply 2-3 coats of mascara, specializing in length and separation instead of volume.
Consider water-proof mascara to prevent smudging at the hood at some level inside the day. Focus greater hobby on the outer lashes to decorate the lifted impact created via your eyeshadow placement.
Lash Enhancement: Tight lining the pinnacle waterline with a darkish liner makes lashes appear fuller without including bulk to the lid.
Step 8: Balance with Lower Lash Line
Use a small brush to apply complementary eyeshadow alongside the lower lash line. Apply greater color to the outer 1/3 and lighter tones to the inner two-thirds for a balanced appearance.
This step is important for hooded eyes as it permits framing the complete eye and stops the top lid work from performing too heavy.
Color Coordination: Use a lighter model of your outer nook shade for the lower lash line to create concord.
Step 9: Final Blending and Touch-ups
Do a very last combo of all shades to ensure seamless transitions. Use a clean, fluffy brush to soften any harsh traces and create a refined end.
Check your paintings in herbal mild if viable, as synthetic lighting fixtures can be deceiving. Make any critical changes to coloration placement or blending.
Setting the Look: Lightly mist a small brush with setting spray and gently pat over your eyeshadow to lock the entirety in the area.
Eyeshadow Looks for Different Occasions
Everyday Natural Look
Focus on independent, matte sunglasses that beautify your herbal eye form:
- Light neutral on the cellular lid
- Soft brown within the faux crease
- Subtle inner corner spotlight
- Natural-looking lashes
Professional Office Look
- Polished and appropriate for place of job settings:
- Sophisticated unbiased palette
- Matte finishes favored
- Subtle definition without drama
- Long-wearing components for all-day perfection
Evening Glamour
More dramatic colors and techniques for unique occasions:
- Deeper colorations for effect
- Strategic shimmer placement
- More defined outer nook
- Enhanced lash definition
Date Night Romance
Soft, romantic colorings that decorate herbal beauty:
- Warm, flattering tones
- Subtle shimmer on the mobile lid
- Soft definition in the crease
- Focus on making eyes appear larger and brighter
Troubleshooting Common Issues
Eyeshadow Creases Quickly
Causes: Insufficient primer, oily lids, incorrect product technique Solutions: Use eye-precise primer, set with powder, choose out lengthy-put on formulas
Colors Look Different Than Expected
Causes: Wrong base coaching, bad shade payoff, lighting troubles Solutions: Proper priming, incredible eyeshadows, check in natural light
Makeup Transfers to Hood
Causes: Too plenty product, incorrect placement, insufficient setting Solutions: Use less product initially, alter placement better, set properly
Eyes Appear Smaller
Causes: Too masses darkish shade, wrong colour placement, lack of assessment Solutions: Lighten mobile lid hues, enhance dark sun shades higher, add strategic highlights
Conclusion
Remember, analyzing eye make-up for hooded eyes takes practice and staying power. The key is understanding that traditional eyeshadow tutorials need models in your particular eye shape.
With these specialized strategies for eyeshadow for hooded lids, you may create lovely, prolonged-lasting eyes that beautify your natural beauty and make your eyes the focus of your make-up appearance.
Practice these strategies frequently, test with precise coloration combinations, and don’t be afraid to alter strategies primarily based totally on your particular eye form and alternatives.
Our hooded eyes are adorable and particular – these strategies certainly assist you exhibit them at their absolute brilliance.